It took me way longer than I care to admit to discover these Gummy O-Ring mounted keyboards. I’m not proud of it, but it is what it is. When I finally discovered them I thought they were an interesting mounting style and I wanted to try it out.
It’s pretty easy to get a Bakeneko60 from Cannon Keys, but I’m not a huge fan of the painted finish and lack of a weight. I mean, obviously I’d love to get my hands on a UNIKORN, but the group buy ended before I knew about it and the aftermarket prices are outrageous! Enter the Ciel, by ChickenMan. The Ciel is a premium 60% Cnc Bakeneko with an internal brass weight. That caught my attention. So I joined the group buy (Sadge) and waited. 5 months later, it’s here!!
Packaging
The packaging for the Ciel was simple. Just a brown box with ChickenMan’s logo and the words “CONSIDER GMK CLUCK” plastered all over. I love this subtle joke(?). Everything was securely packaged inside. Simple and straight to the point. I like it. Not a lot of extra packaging with I really liked.
Build Process
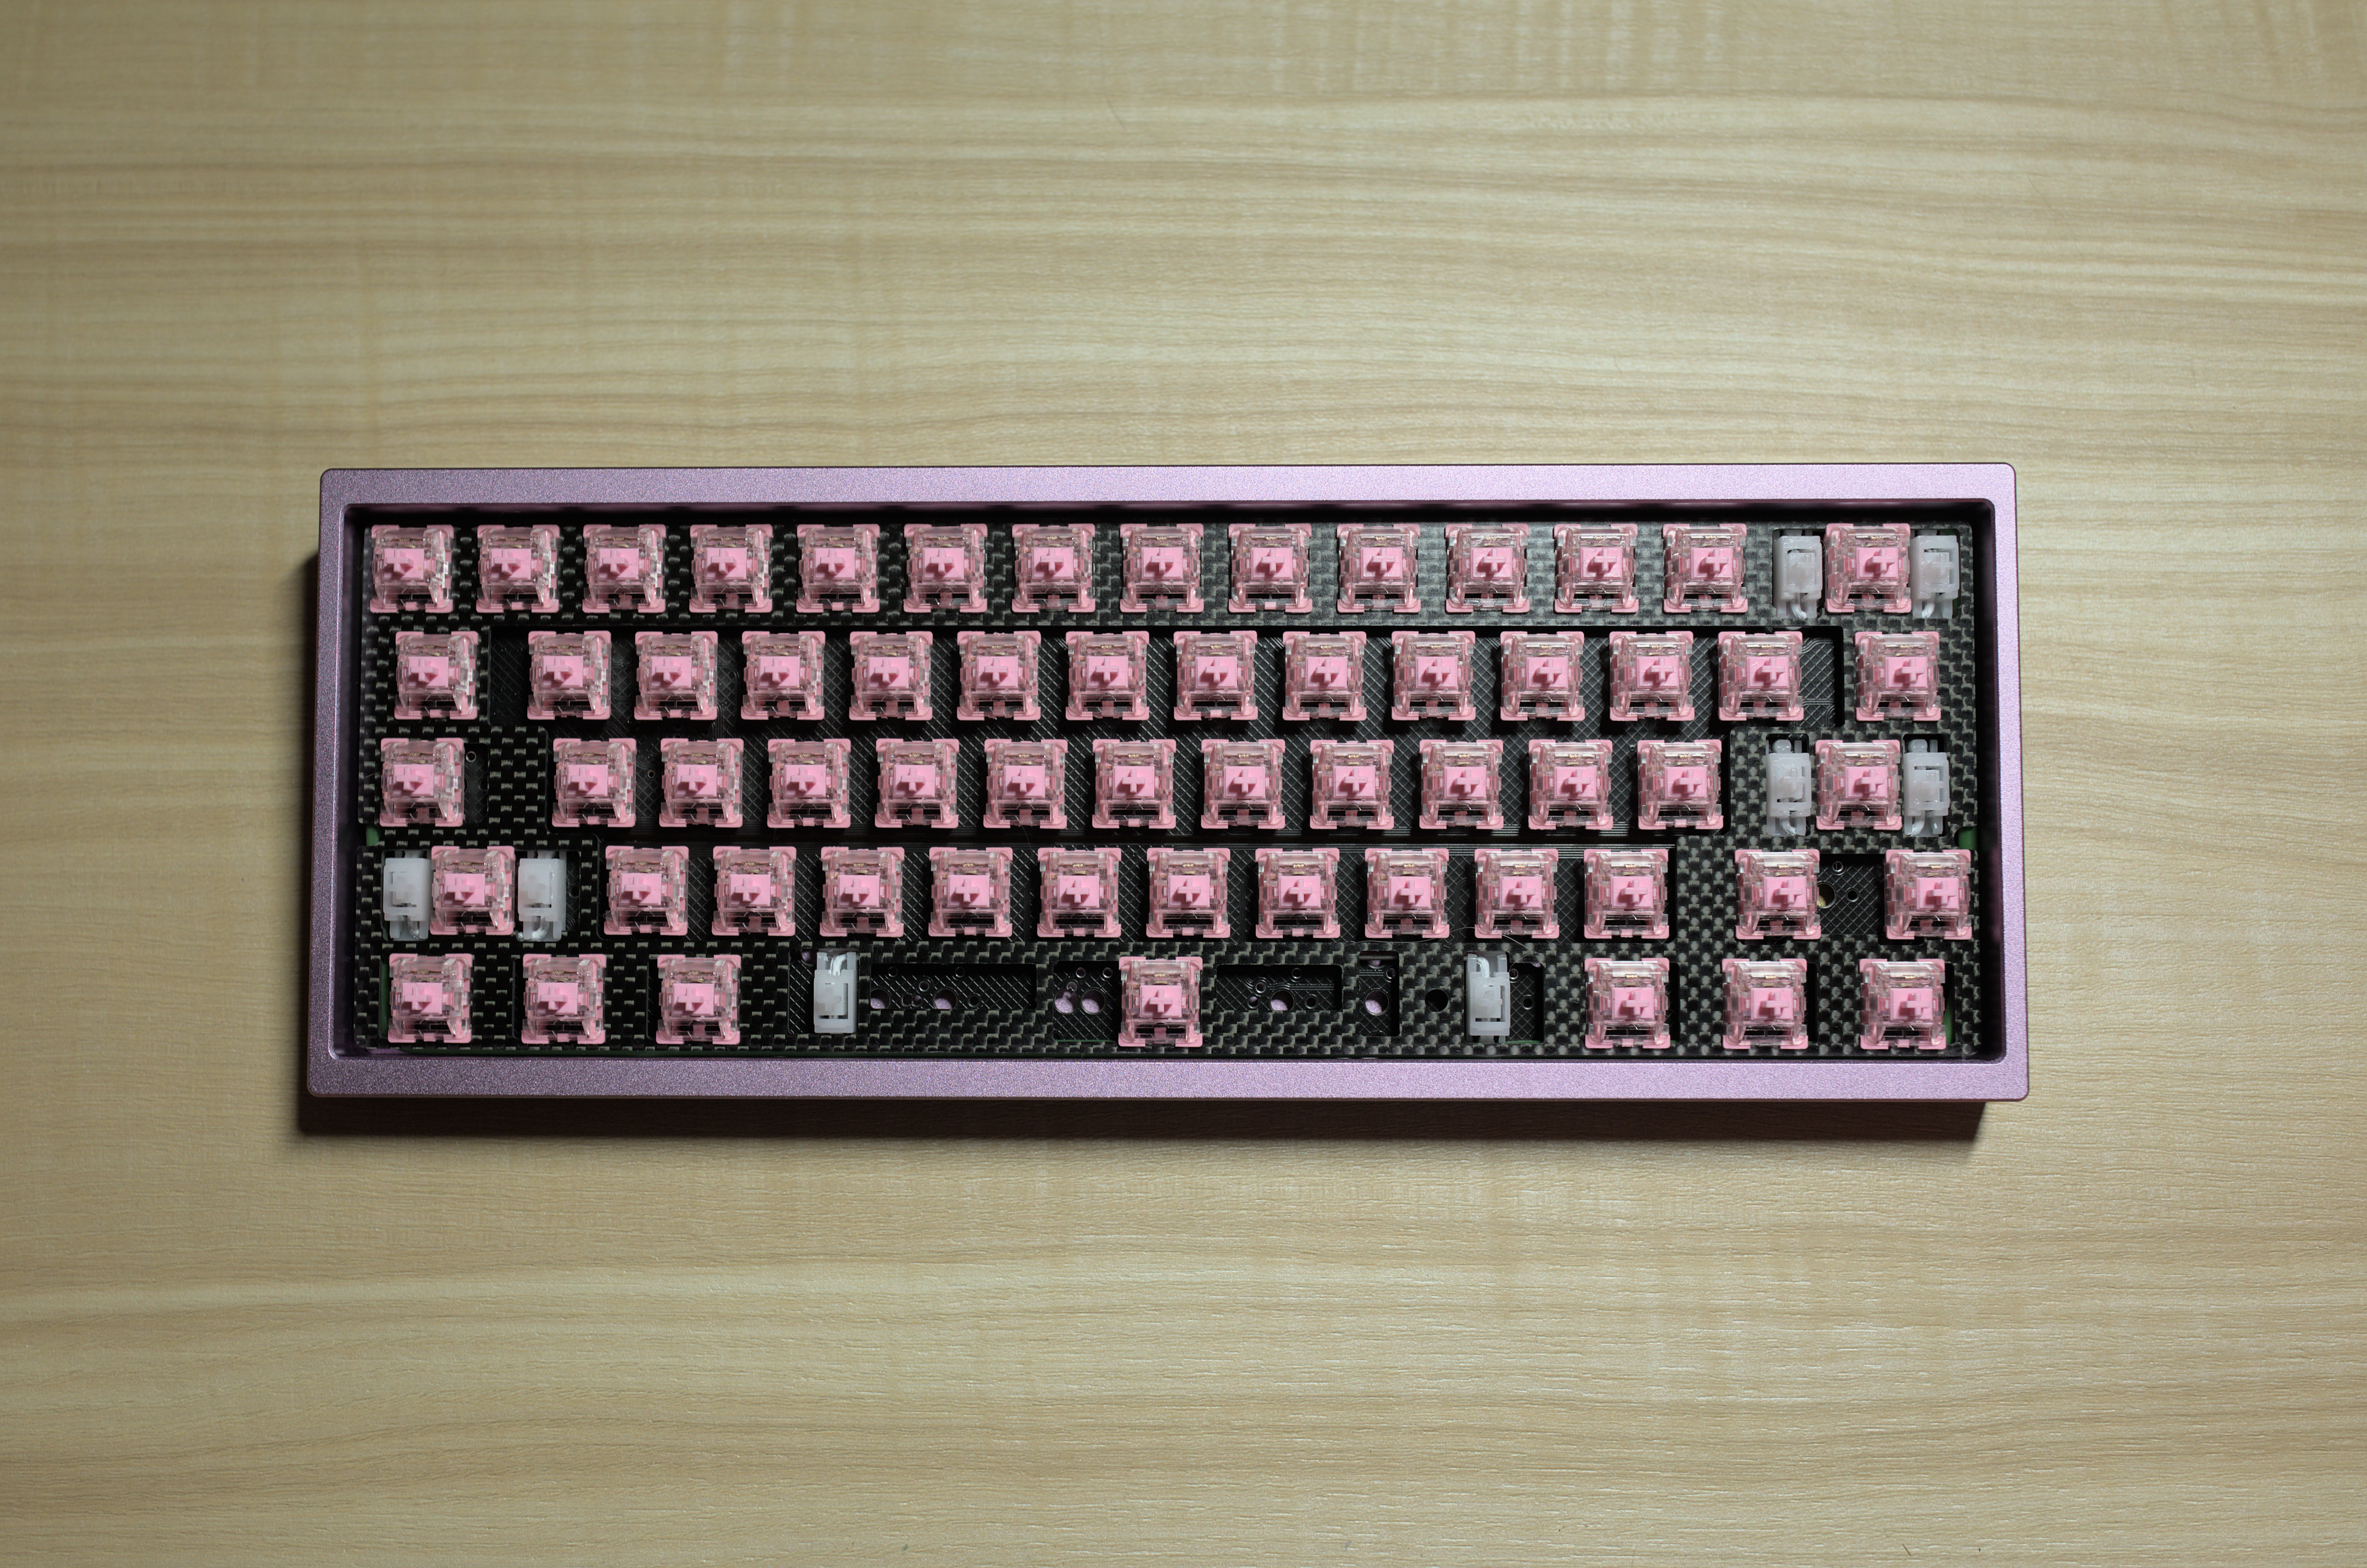
The build was pretty straight forward, especially with the Hot Swap PCB. The HS PCB was included with the kit with extra solderable PCB’s available. I just stuck with the HS PCB because it was included and had multi-layout support. One thing that is different with the Ciel, as opposed to other Bakeneko style keyboards, is the ability to use screw-in stabilizers on the backspace and space bar. I opted to use screw-ins on the spacebar because trying to tune the Cherry clip-ins on the spacebar.
The switches I chose this time around were KTT Rose. This is the first time I have used any KTT switches and I have to say, I really, really like these switches. They are a nice linear switch with a 63.5g bottom out. The housings are Polycarb on the top and Nylon on the bottom with a POM stem. I’ve always been a fan of heavier switches and I think these might be the sweet spot for me as far as feel goes. They are very smooth, (of course I lubed them with Krytox 205g0) and pleasant sounding. They make a very soft “clack” sound that is a pleasant break from the internet’s search for THE THOCCCCCIEST BUILD. The kit comes with a silver aluminum plate. This plate doesn’t offer much flex, but the hot swap PCB doesn’t have any flex cuts or anything so that’s really not a problem. I also ordered a PC plate that I’m going to use when I get my waffling60 PCB. Or maybe I’ll get a universal half plate from somewhere as this keyboard supports universal 60% plates.
They keyboard assembly is very straightforward and perfect for beginners. All you have to do is install stabs, insert switches into the plate and PCB, and wrap the gummy o-ring around the entire thing. (Between the Plate and PCB) Then connect the JST cable to the “DB” header and daughter board, and press the whole thing into place. NearLucid has a really nice video review of the Ciel where he goes through all the assembly for the visual learners.
Typing Feel
Like I mentioned above, there isn’t a lot of flex to this board in this config. The 50a O-Ring gives the entire board an enjoyable little bounce though. It’s a pleasant but not super bouncy (at least with the 50a O-Ring) as some Poron gasket mount boards I’ve tried. I really like it. I’ve ordered a few different O-Rings to see how it effects the typing feel, and I’ll report back after I try them for a while. Luckily there are a few places to buy O-Rings in different hardnesses, so it’ll be easy to experiment. I’m looking forward to mixing different o-rings and plate materials to see how they effect feel and sound.
Design
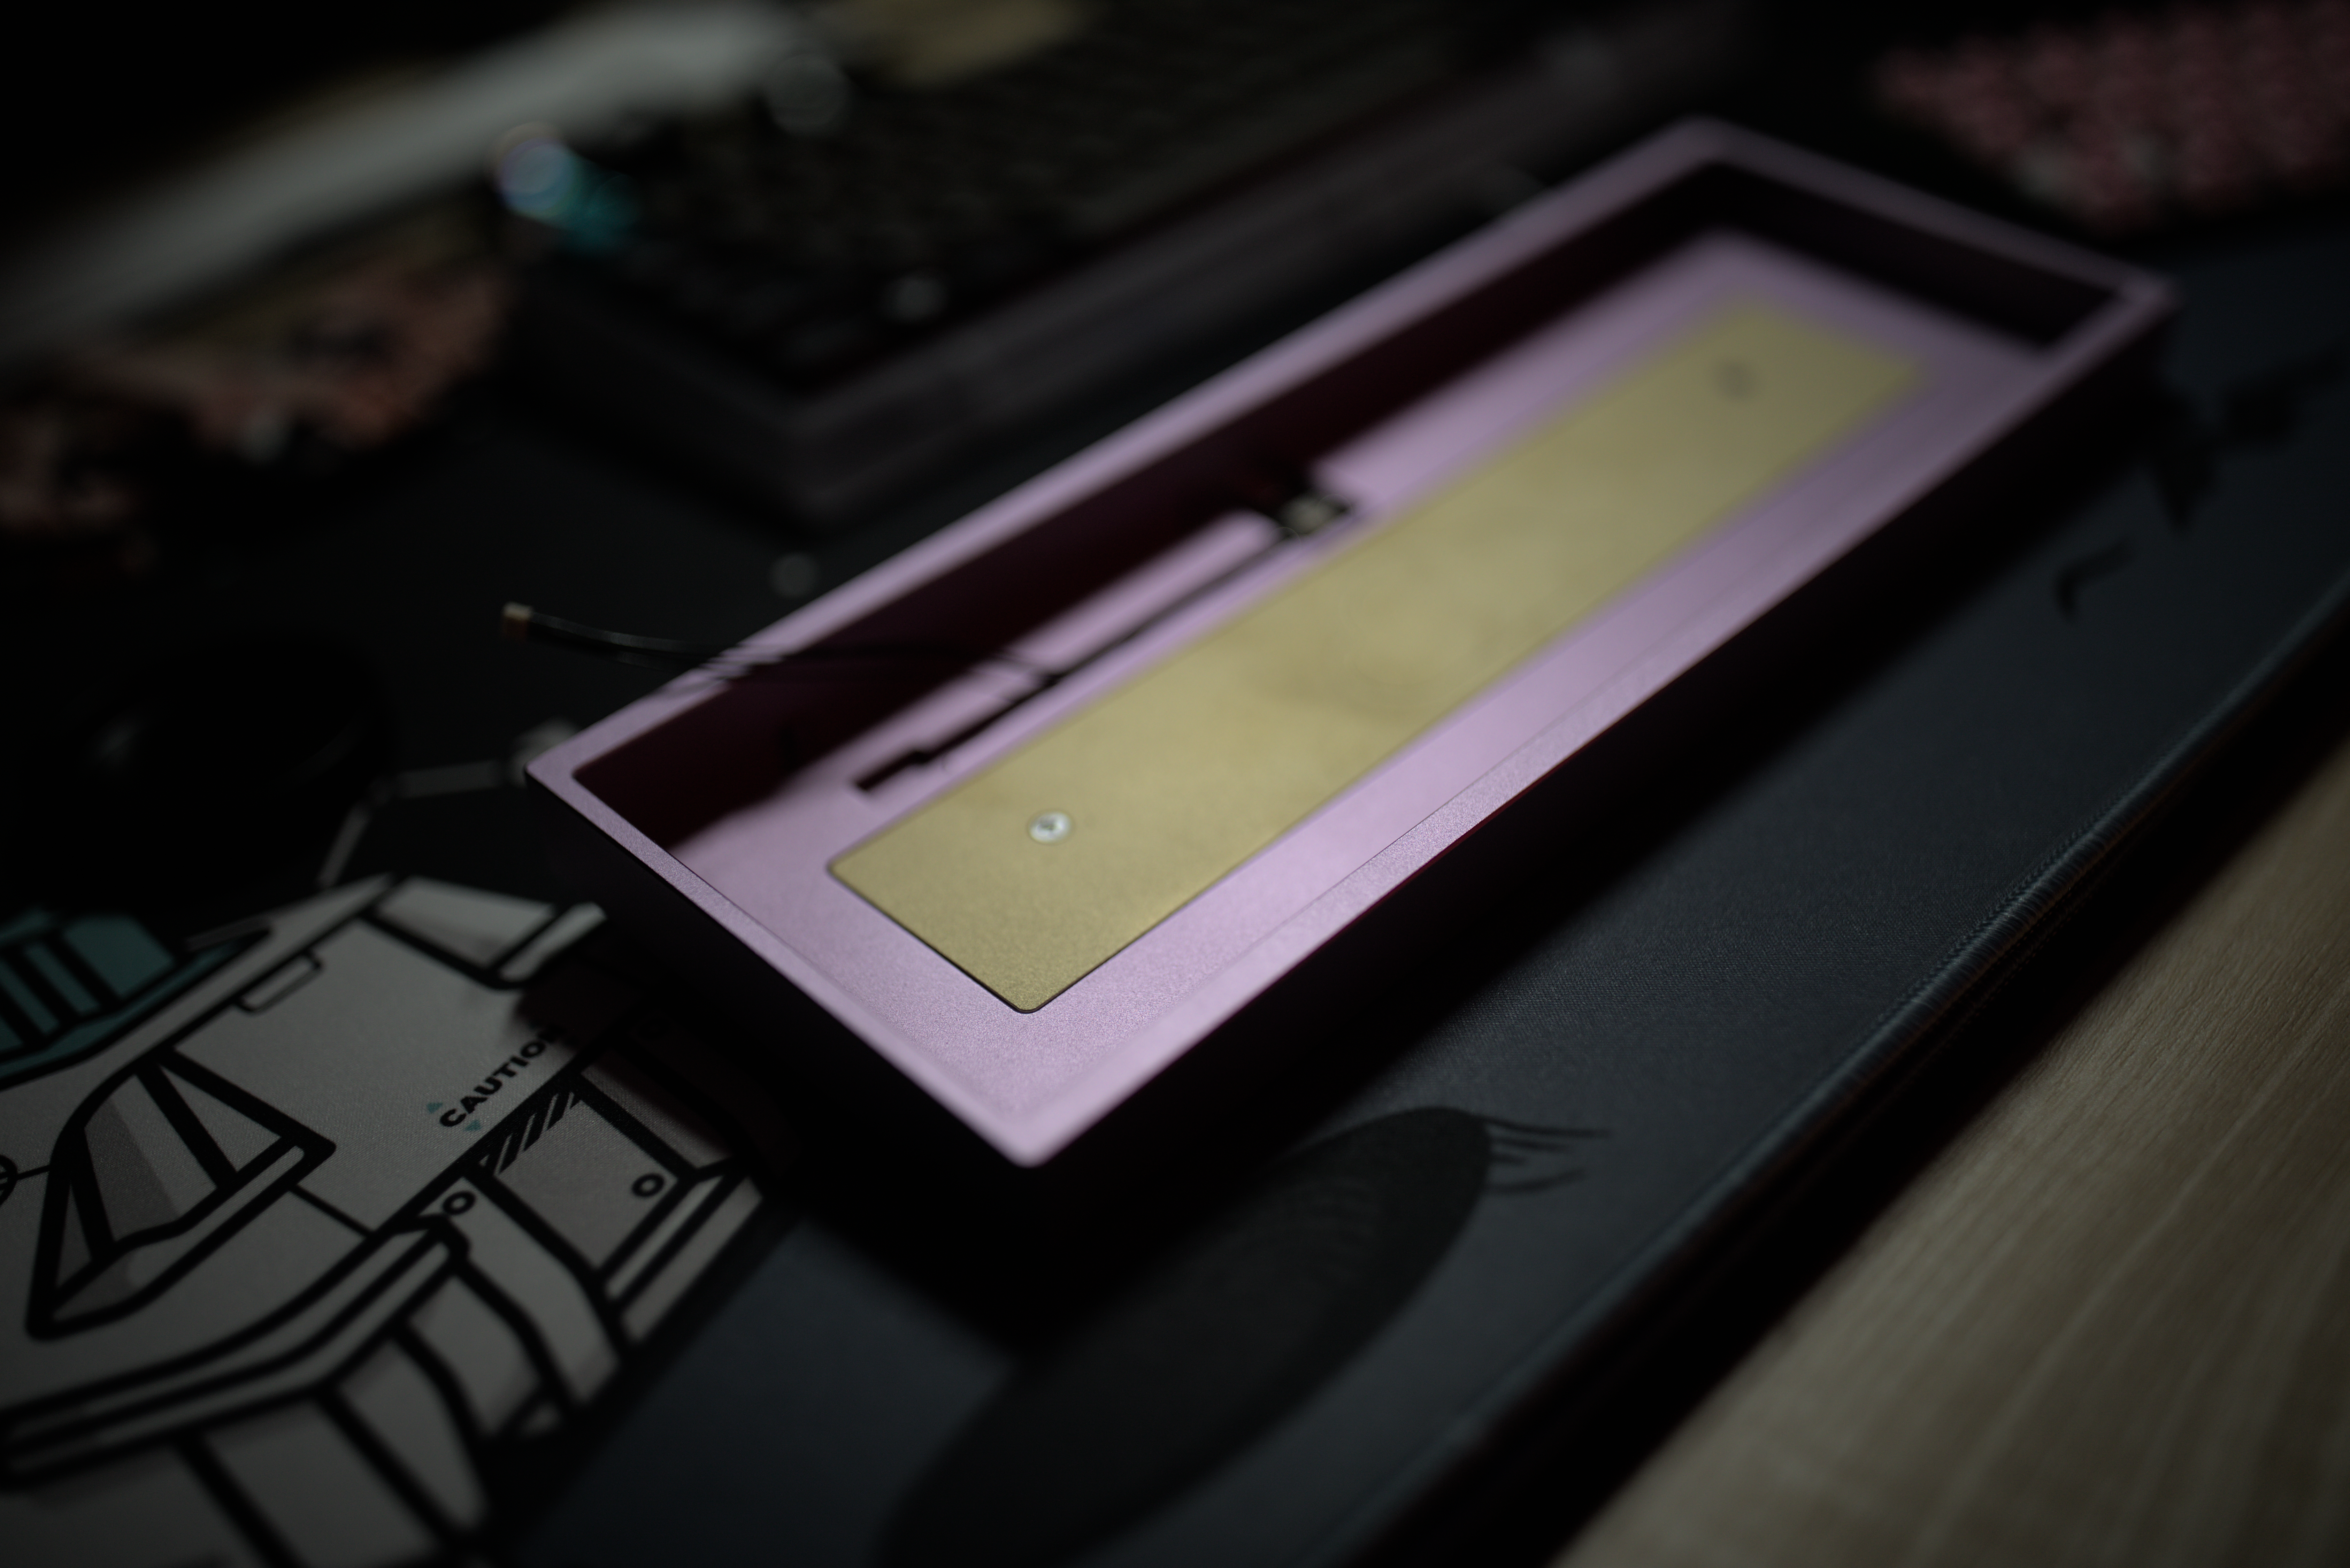
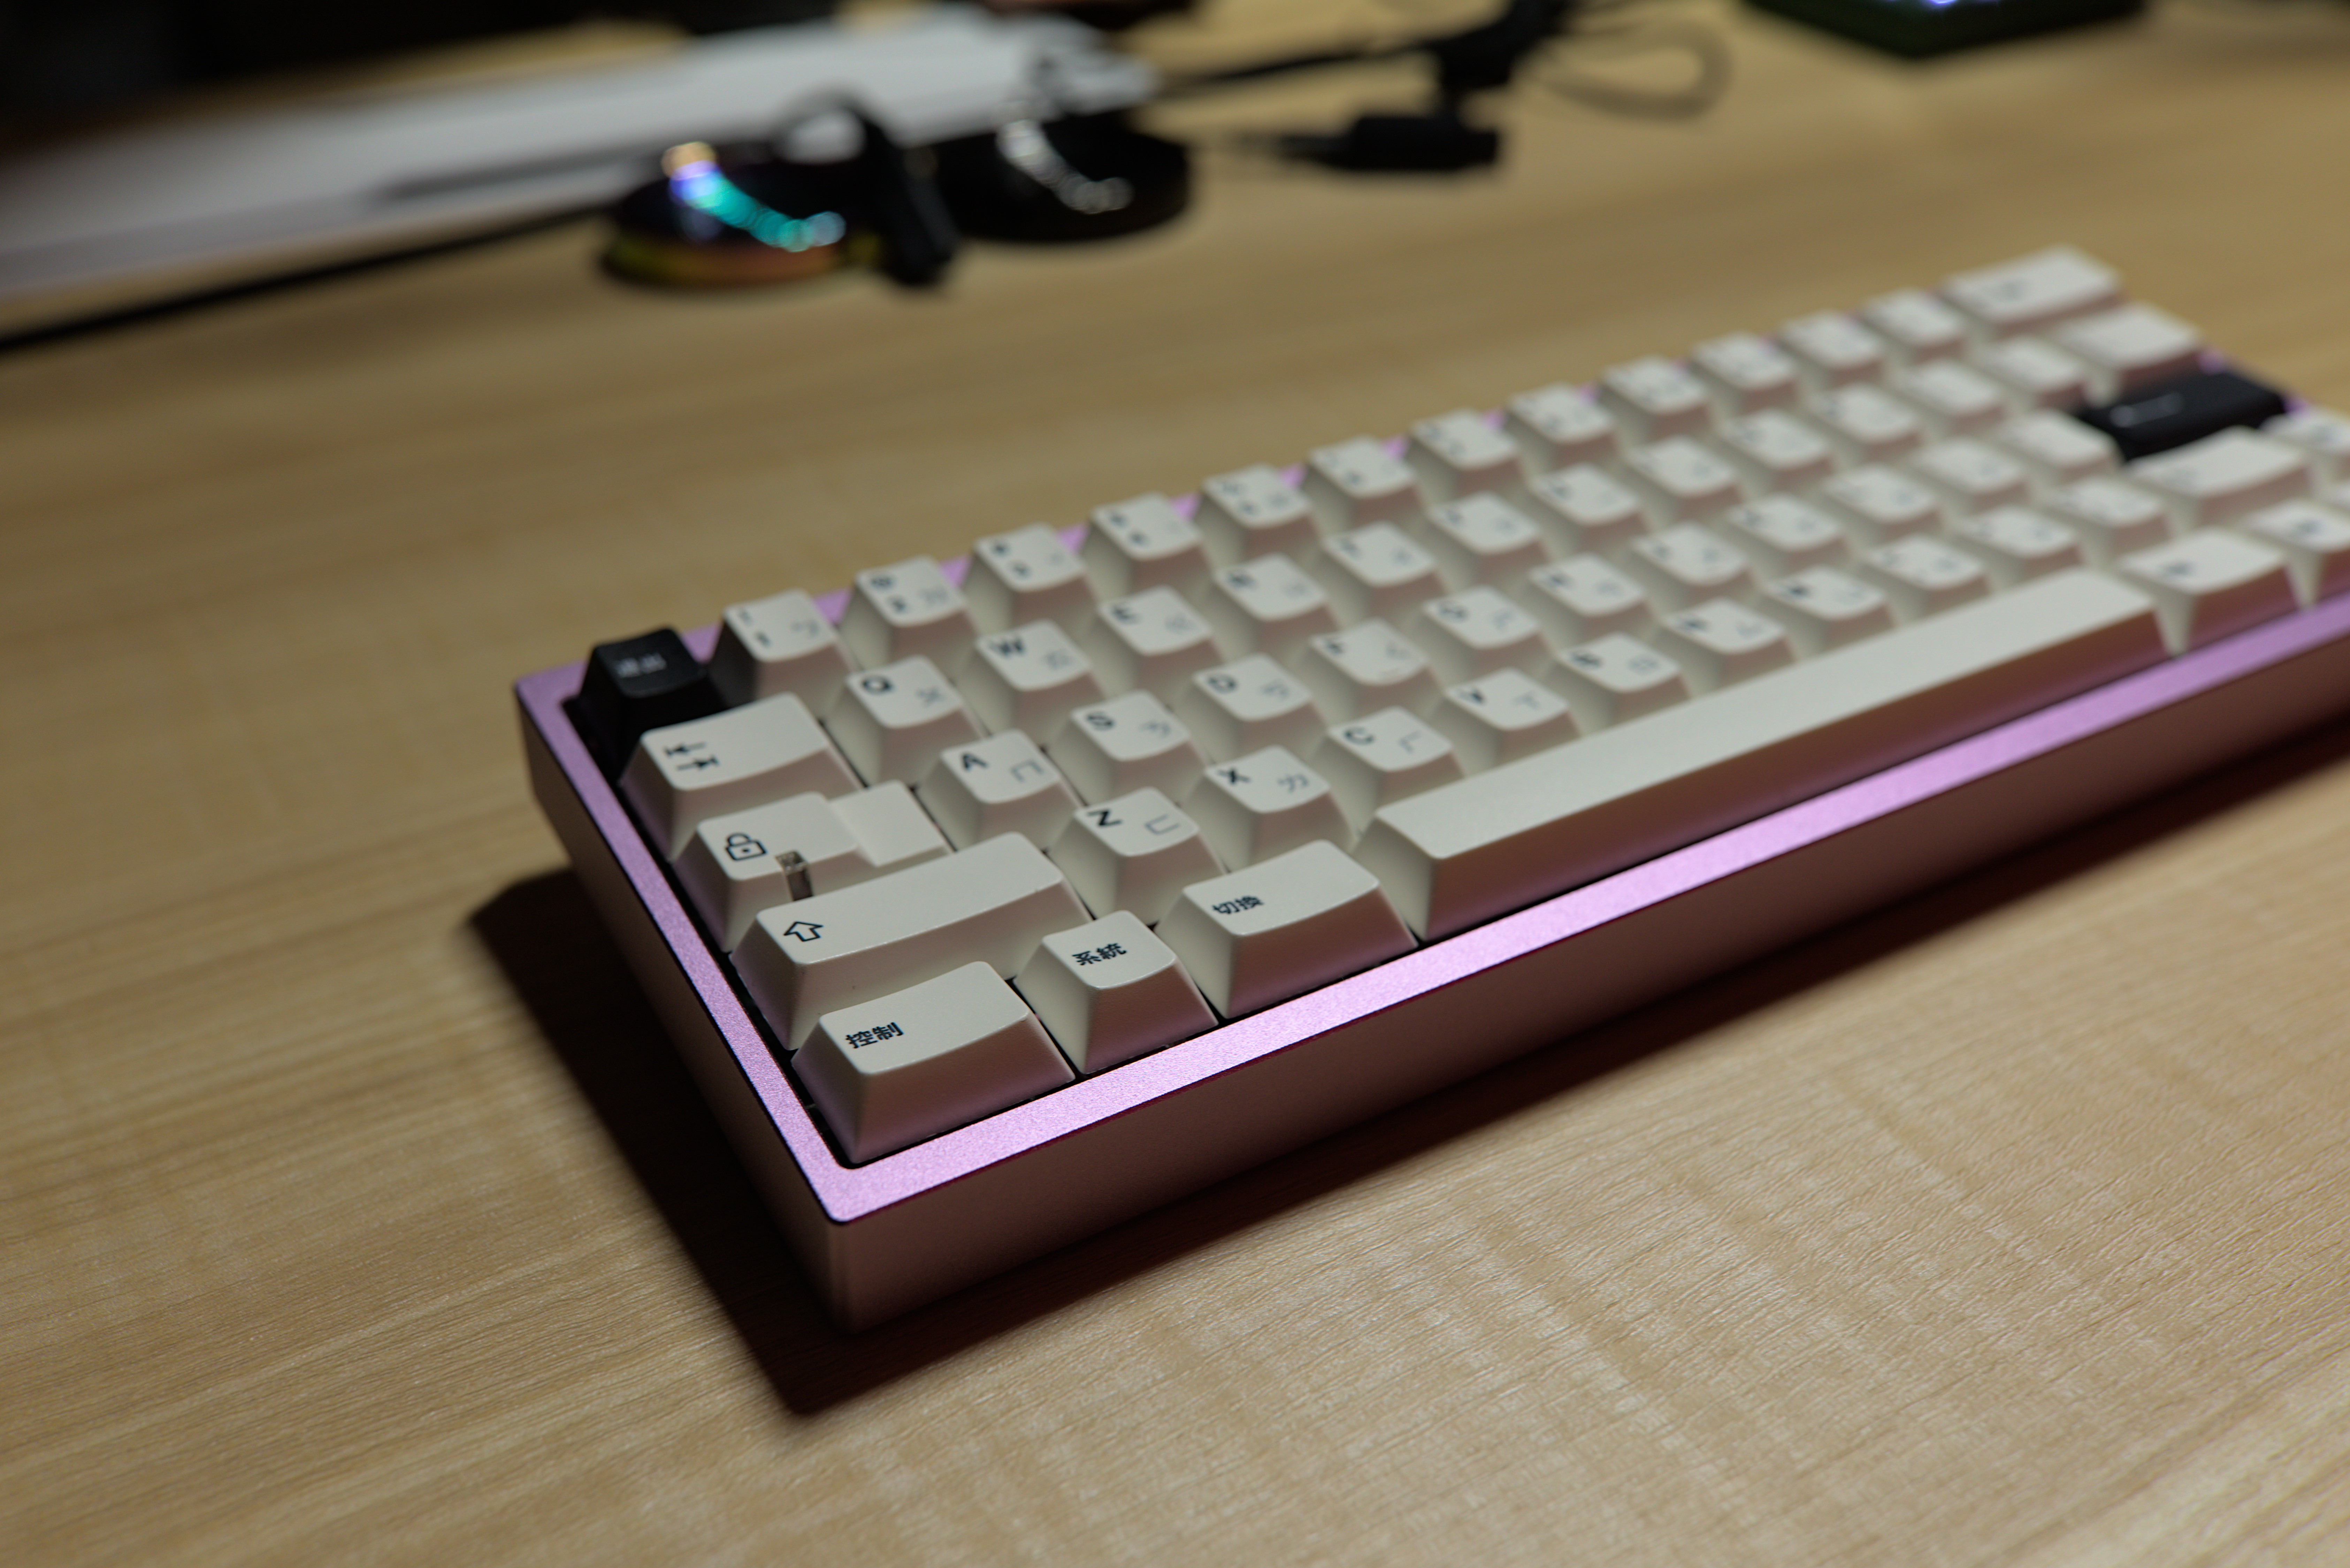
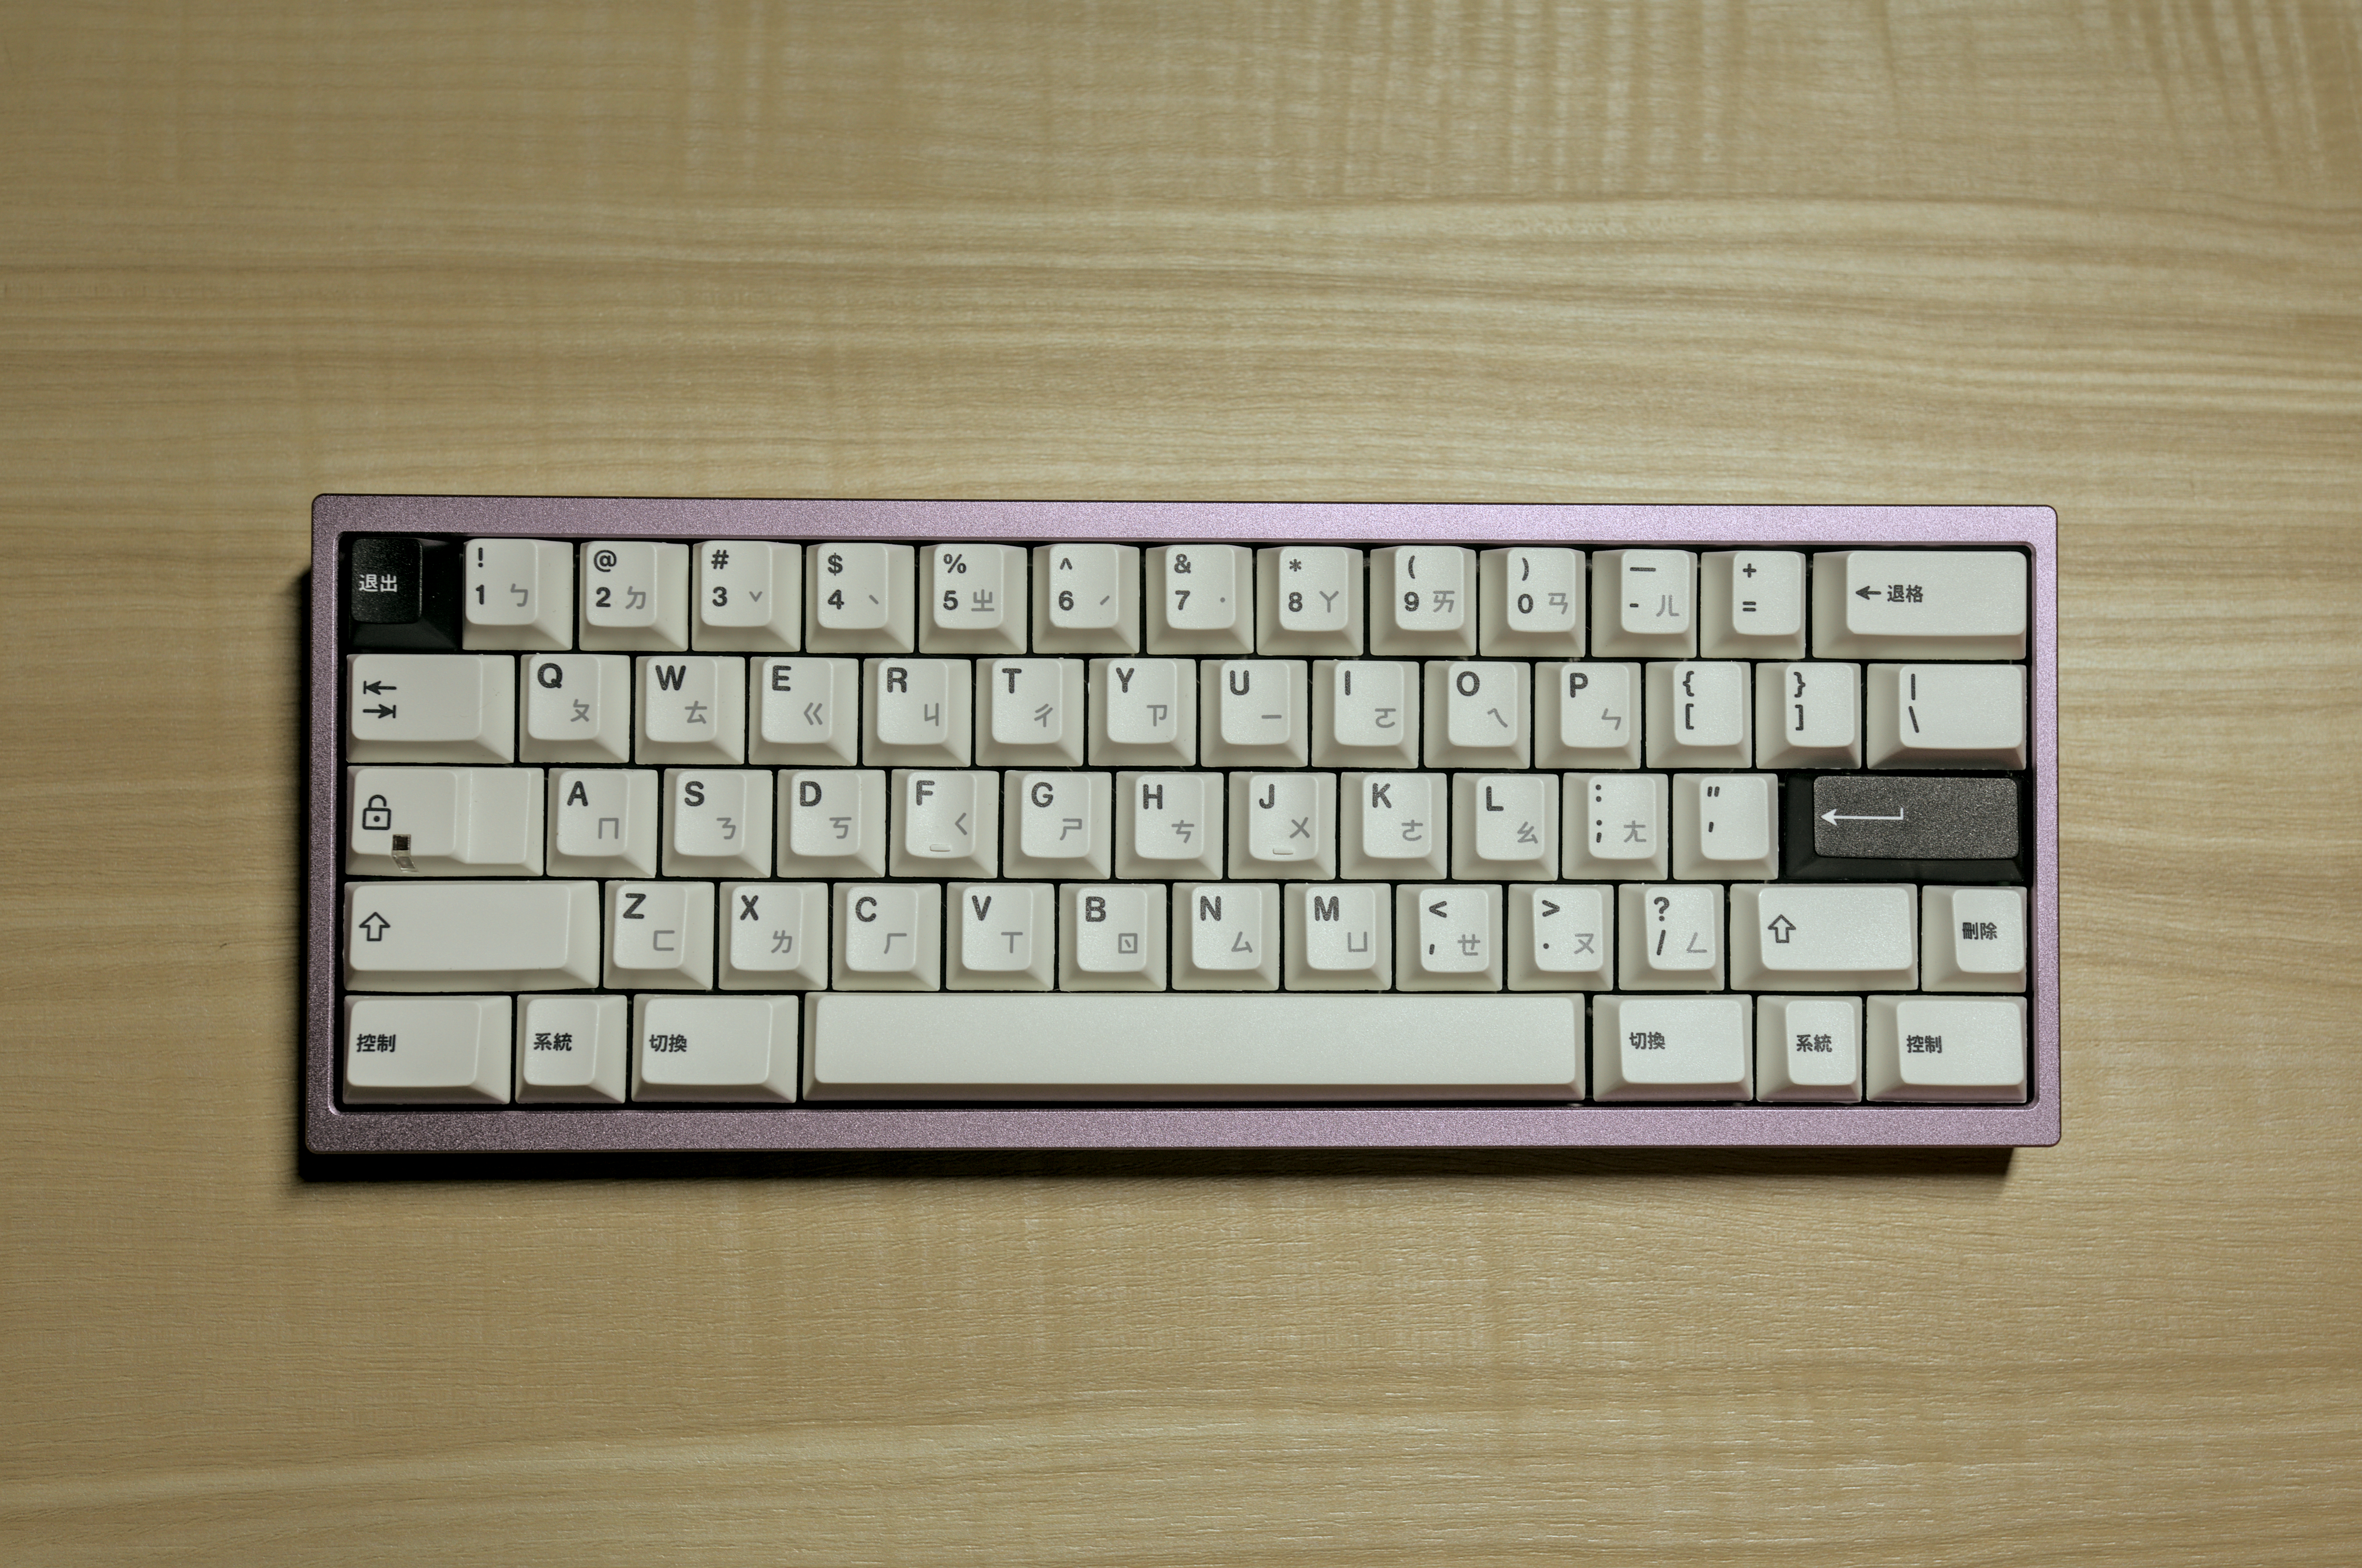
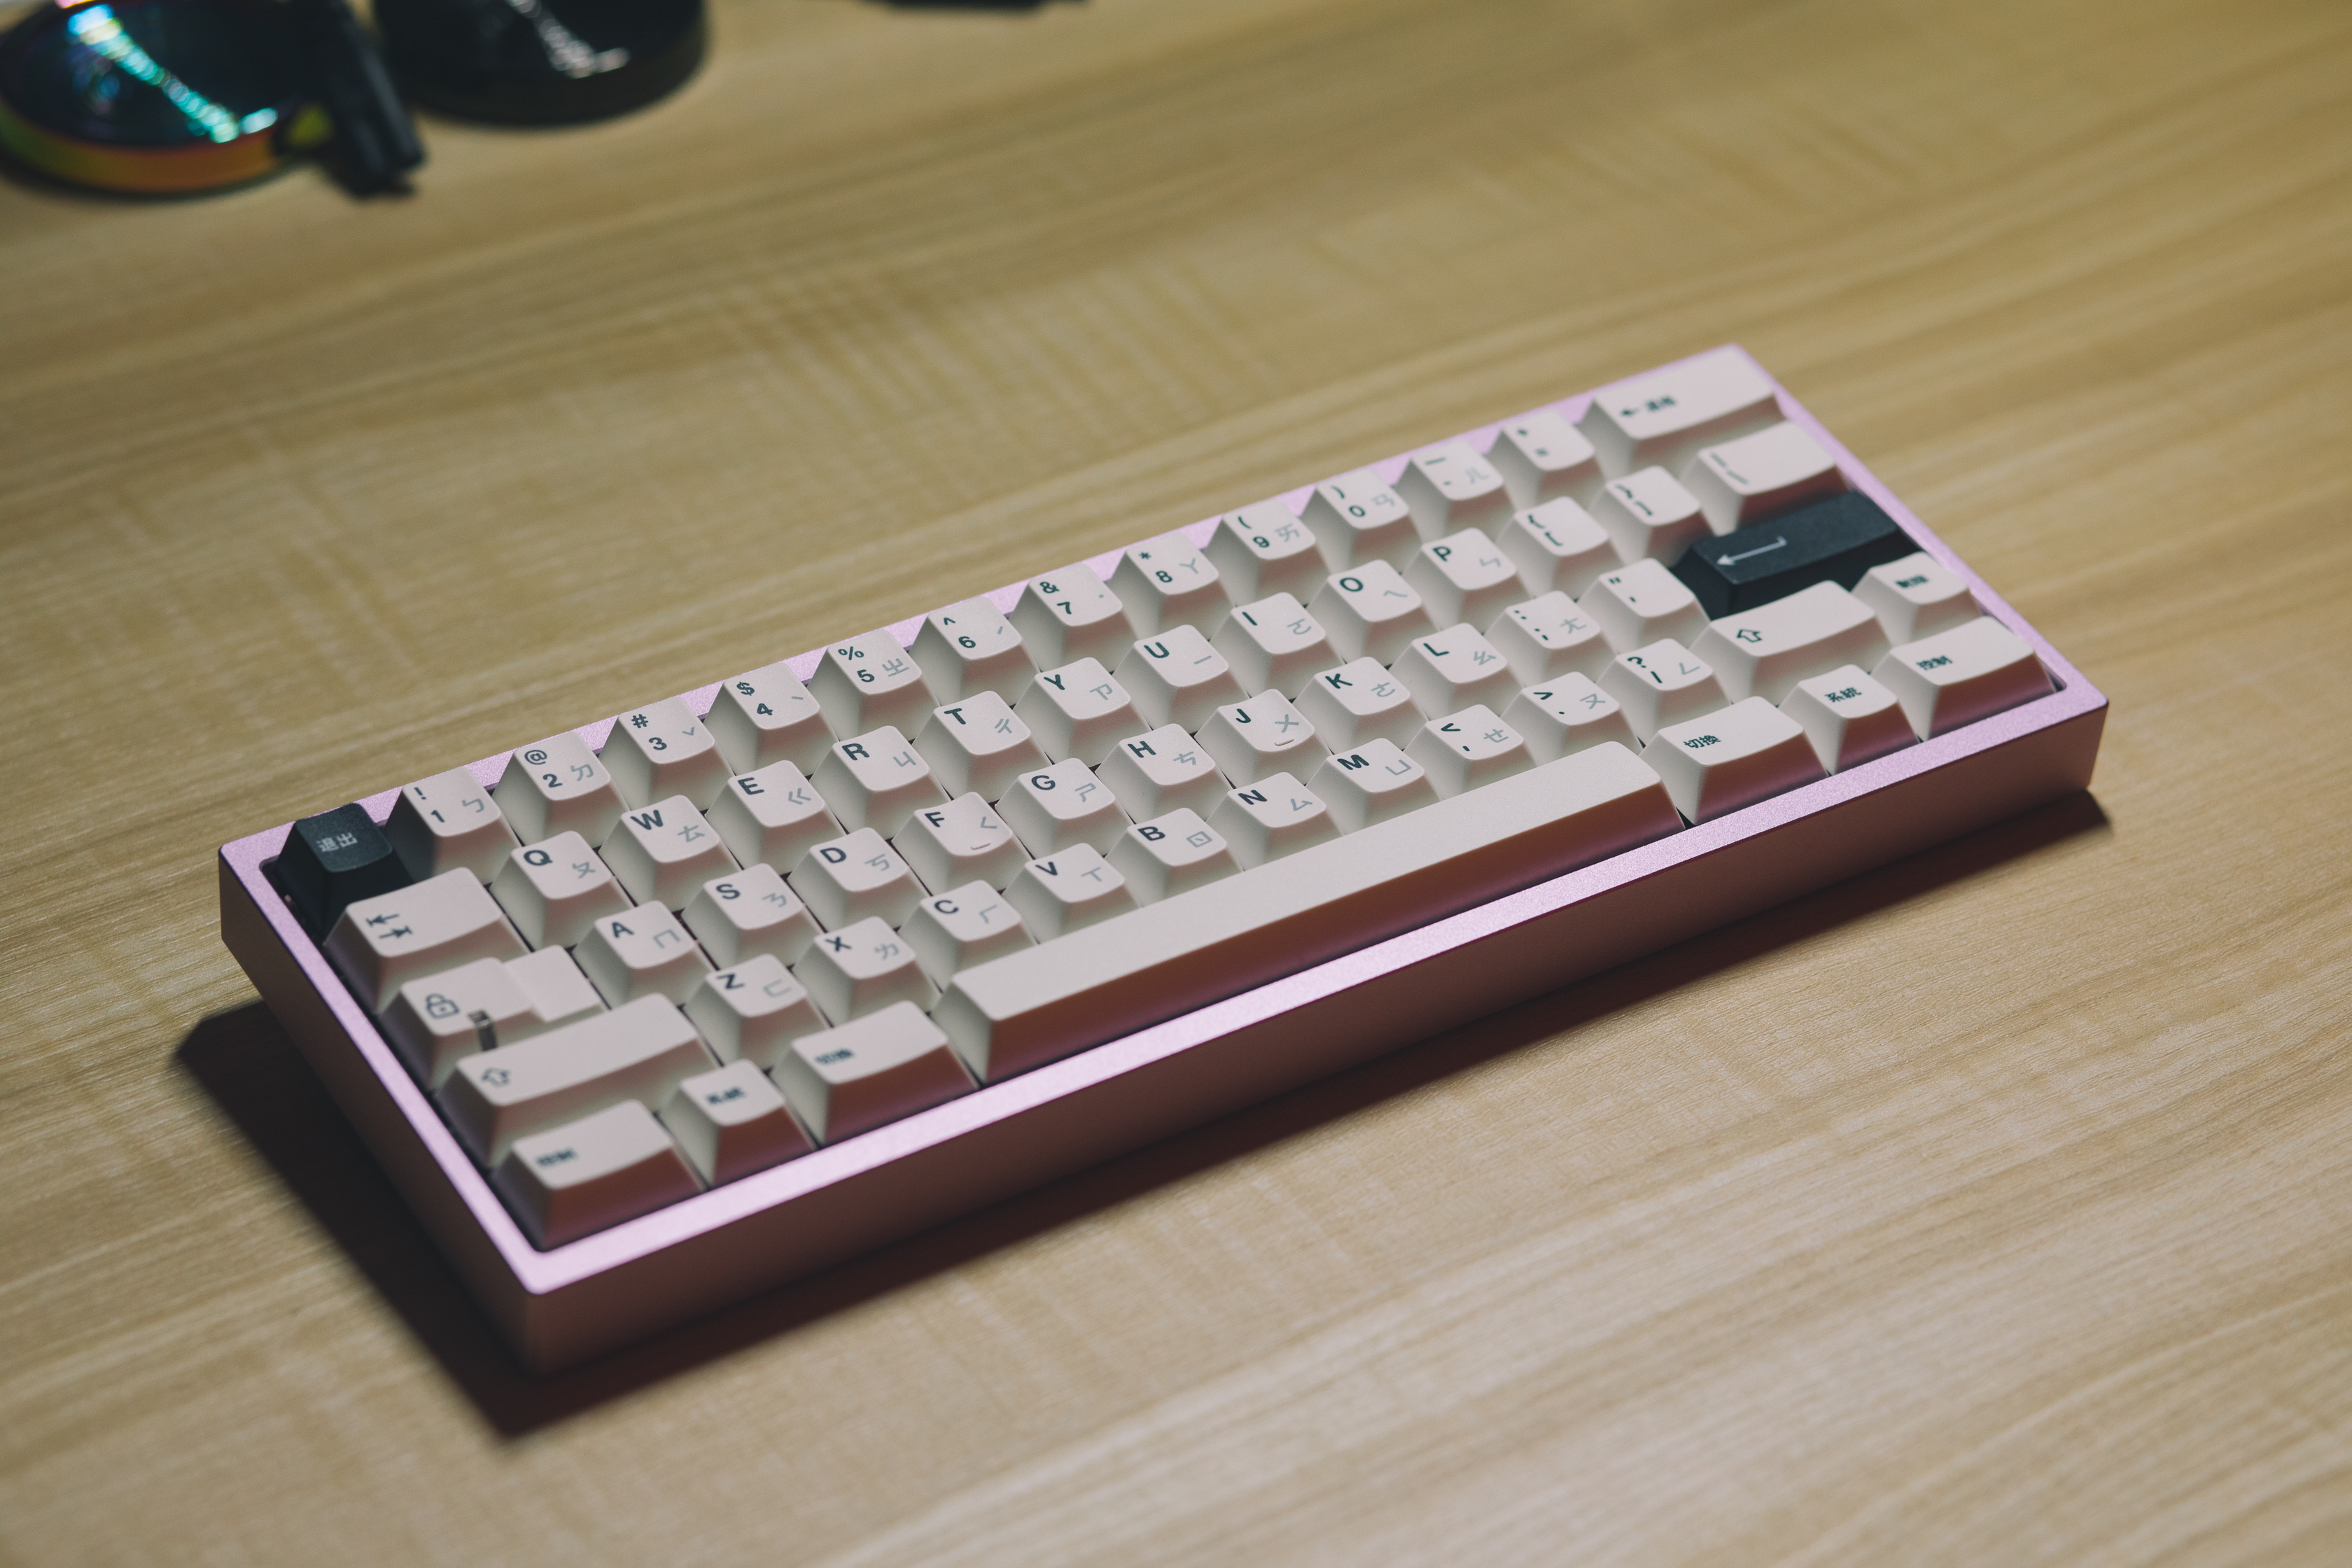
The design of the Ciel is simple. It looks like pretty much every other Bakeneko out there. It has no branding on the outside of the case. The only “branding” is a little cloud engraving on the internal weight. Some people may like the lack of branding, others may not. I for one I have mixed feeligs about it. I like the minimal asthetic of the Ciel, but I kind of wish the engraving was on the bottom of the case, instead of the weight. That being said, I overall like the design of the Ciel. The anodizing is really well done. There are a few belmishes on the inside of the case from the hooks used to hang the case during anodizing but other than that it looks great.
Sound Test
Pros and Cons
Pros
- Not terribly expensive
- Good Anodizing
- Easy Assembly
- Brass Weight
- Daughter Board
- Screw-In Stabilizer support
- Universal Plate support
- Hot-Swap with Multi-Layout support
Cons
- Still may seem pricey for noobies
- Only a few PCBs work in the case (without modding the PCB)
- Aluminum Plate is stiff (could also be seen as a pro)
- Kind of boring looking (could also be taken as “clean”)
Closing Thoughts
Like I said earlier, this is my first “Bakeneko” style keyboard and honestly, I’m really impressed. For only $180 (group buy price) this is very solid keyboard. For someone looking to get into custom keyboards and doesn’t want to break the bank, I might still go with the CK Bakeneko because it’s quite a bit cheaper, especially with the $210 price tag on extras. But for someone looking for a premium feeling Bakeneko keyboard, I’d definitely recommend the Ciel.
Update
So I purchased a Waffling60 PCB and a Carbon Fiber half plate and some softer O-Rings and it turned this keyboard into a whole new beast. The flex cut in the waffling60 feels great. It’s not too much flex like how I felt with the Mode SixtyFive. I think that has to do with the waffling only having one flex cut opposed the the two on the Mode pcb.
I’ve also been experimenting with different o-rings to see how it changes the feel. I currently have a 45a o-ring in the build and I’m really happy with how it feels. It’s one of the best feeling keyboards I’ve ever used. The right amount of bounce and flex for me. And the sound of the KTT Rose switches with pbt keycaps sounds amazing. I’m extremely happy with the results of this build and I think the upgraded plate and PCB were 100% worth it for me. Since recieving the Ciel a few weeks ago I haven’t used any other keyboard. Usually I’ll rotate between a few but I’ve been stuck on the Ciel since I got it. That includes all the time I used it with the standard aluminum plate and hot swap PCB. This might actually be my endgame 60% keyboard… for now. I’d still like to get my hands on something with a larger weight like that of the UNIKORN, but for now this will do just fine.
Gallery